

Vinyl Decals Vancouver
Cut Vinyl Decals and Lettering
Vinyl decals and cut vinyl lettering are a versatile and cost-effective signage solution for small businesses. These signs can be found in nearly every aspect of signage and are incredibly effective at conveying a message. When used correctly, vinyl decals can positively impact daily operations and sales.
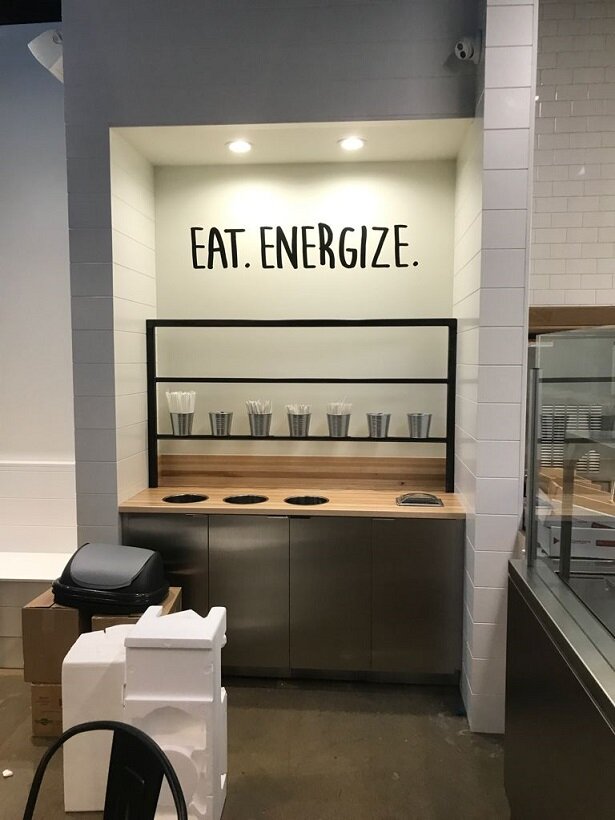
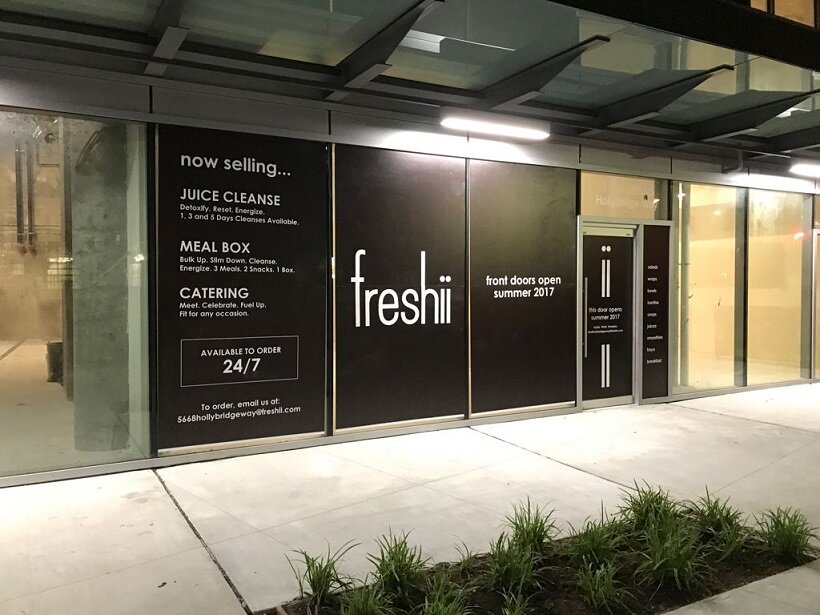
Vinyl decals and lettering can transform most surfaces into a message display and branding opportunity. You’ll commonly find vinyl decals and vinyl letters used on car wraps, storefront windows, and interior walls.
At Sixstream Signs, we produce all vinyl decals and cut vinyl stickers locally at our Vancouver sign shop in Surrey, BC. Incorporating vinyl decals into your business can effectively convey key messaging to prospects and clients. Don't miss out on the branding potential of vinyl decals for your small business.


What are Vinyl Decals & Cut Vinyl letters?
Vinyl decals signs are made from large coloured rolls of adhesive vinyl film. Vinyl film for vinyl decals & cut vinyl letters are produced with adhesive on one side. The adhesive side of the sign vinyl is protected with a release liner. The vinyl film for signage is put through a process called plotting or vinyl cutting. This step “cuts out” your graphic from the vinyl film. The side without adhesive will spell out your graphics or letters once installed.
The types of sign vinyl available are engineered for different sign industry applications including car wraps, wall wraps and window wraps. Vinyl is widely used in the signage industry to create rigid signs, vehicle lettering, channel letters and light box faces.
At Sixstream Signs, we work with two categories of vinyl graphic materials: Dye Cut Vinyl and Printable Vinyl Films.
Key Benefits of Vinyl Decals & Cut Vinyl letters
Produced Quickly
Low Cost Sign Solution
Vinyl letters and cut decals can applied to Cars
Easily to ship and transport
Cut Vinyl is Easy to Install, apply and Mount
Common Uses of Cut Vinyl Decals
Window Lettering
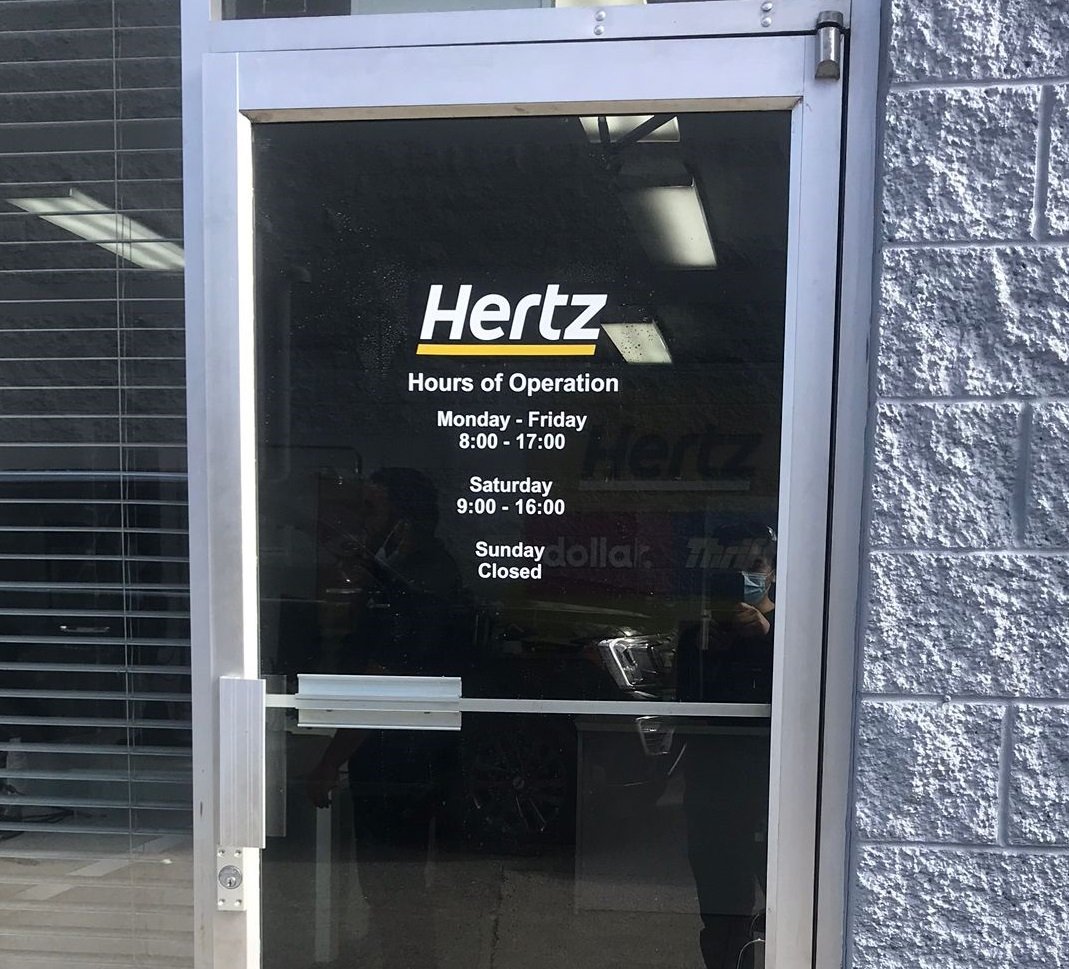
Window lettering is effective at displaying key information on your shop windows. Signs such as store hours, promotions and instore specials.
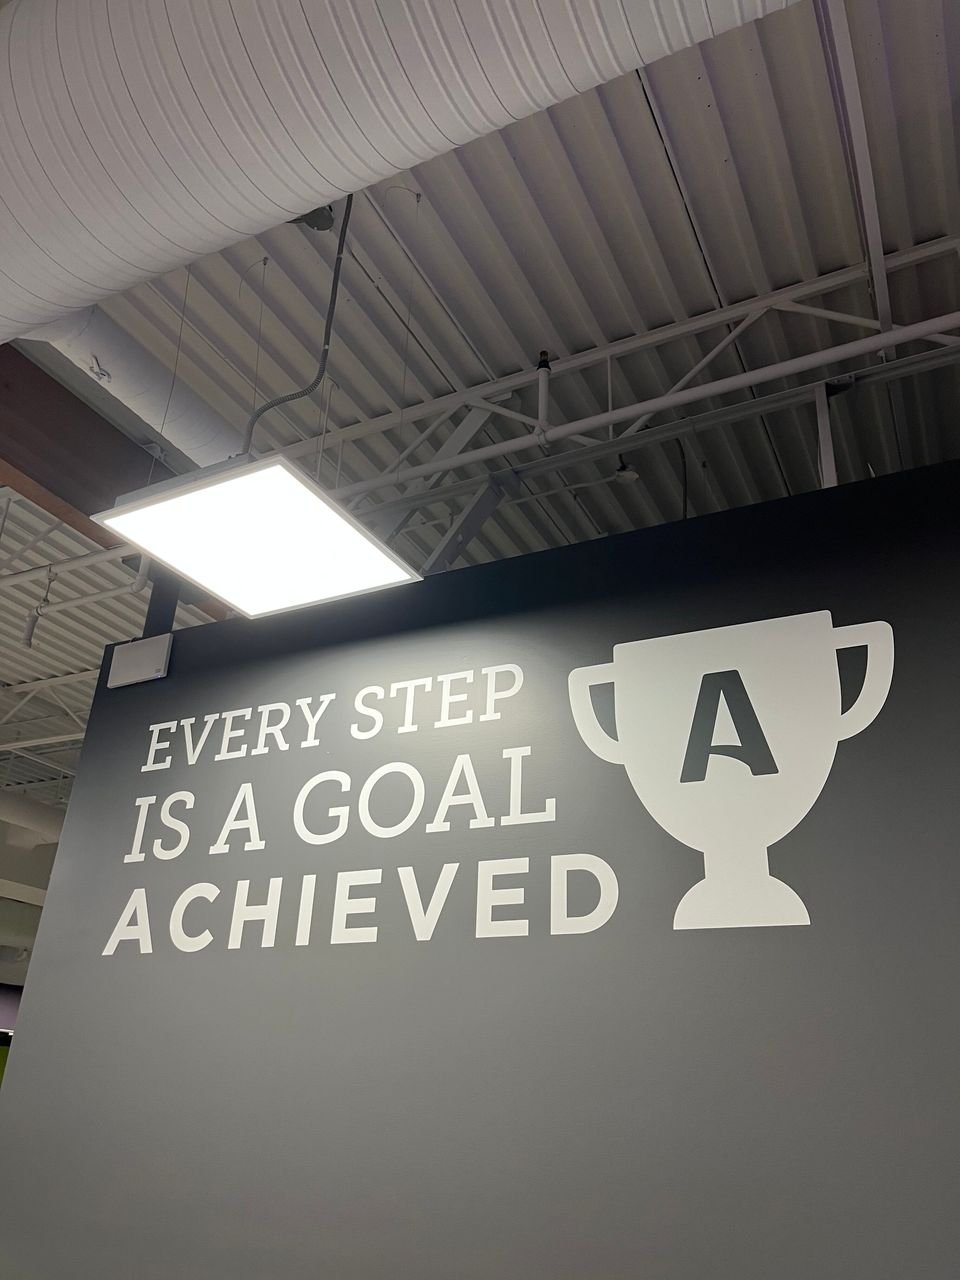
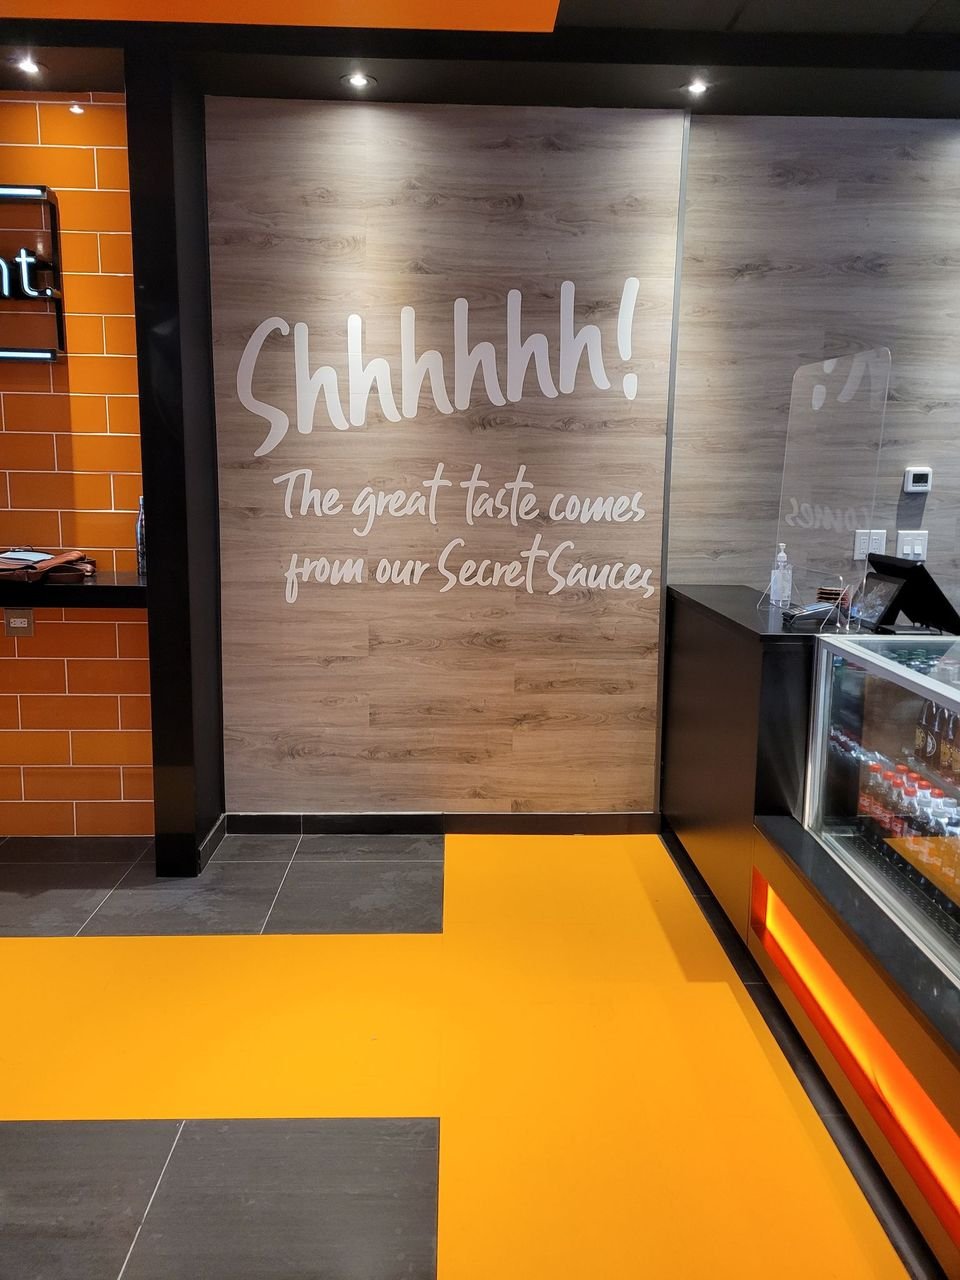
Wall Vinyl Graphics
Wall vinyl graphic can enhance a space and reinforce brand initiatives.
Commercial Car lettering
Its common to use vinyl lettering and vinyl decals to add contact information and branding to commercial vehicles.
Vinyl Decal Signs
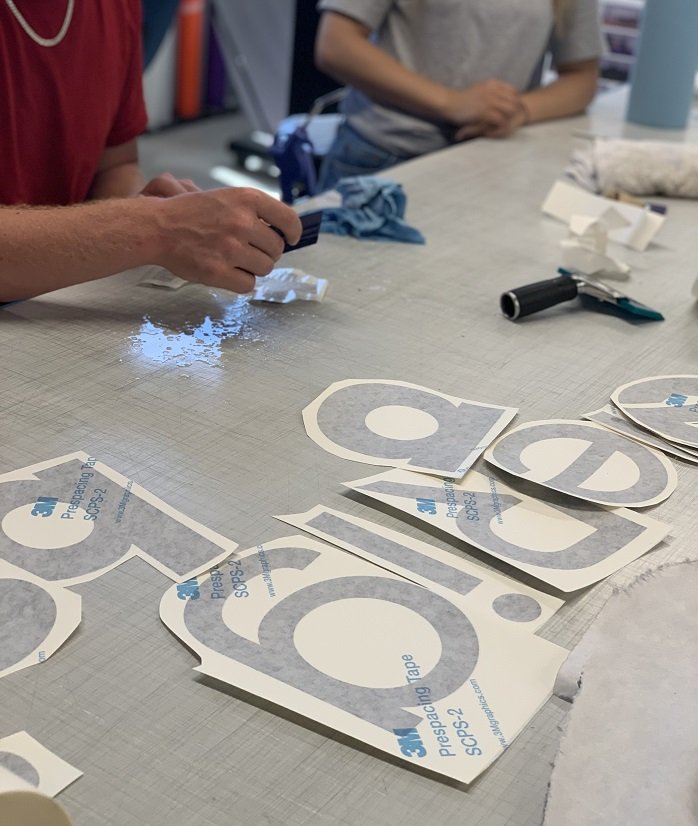
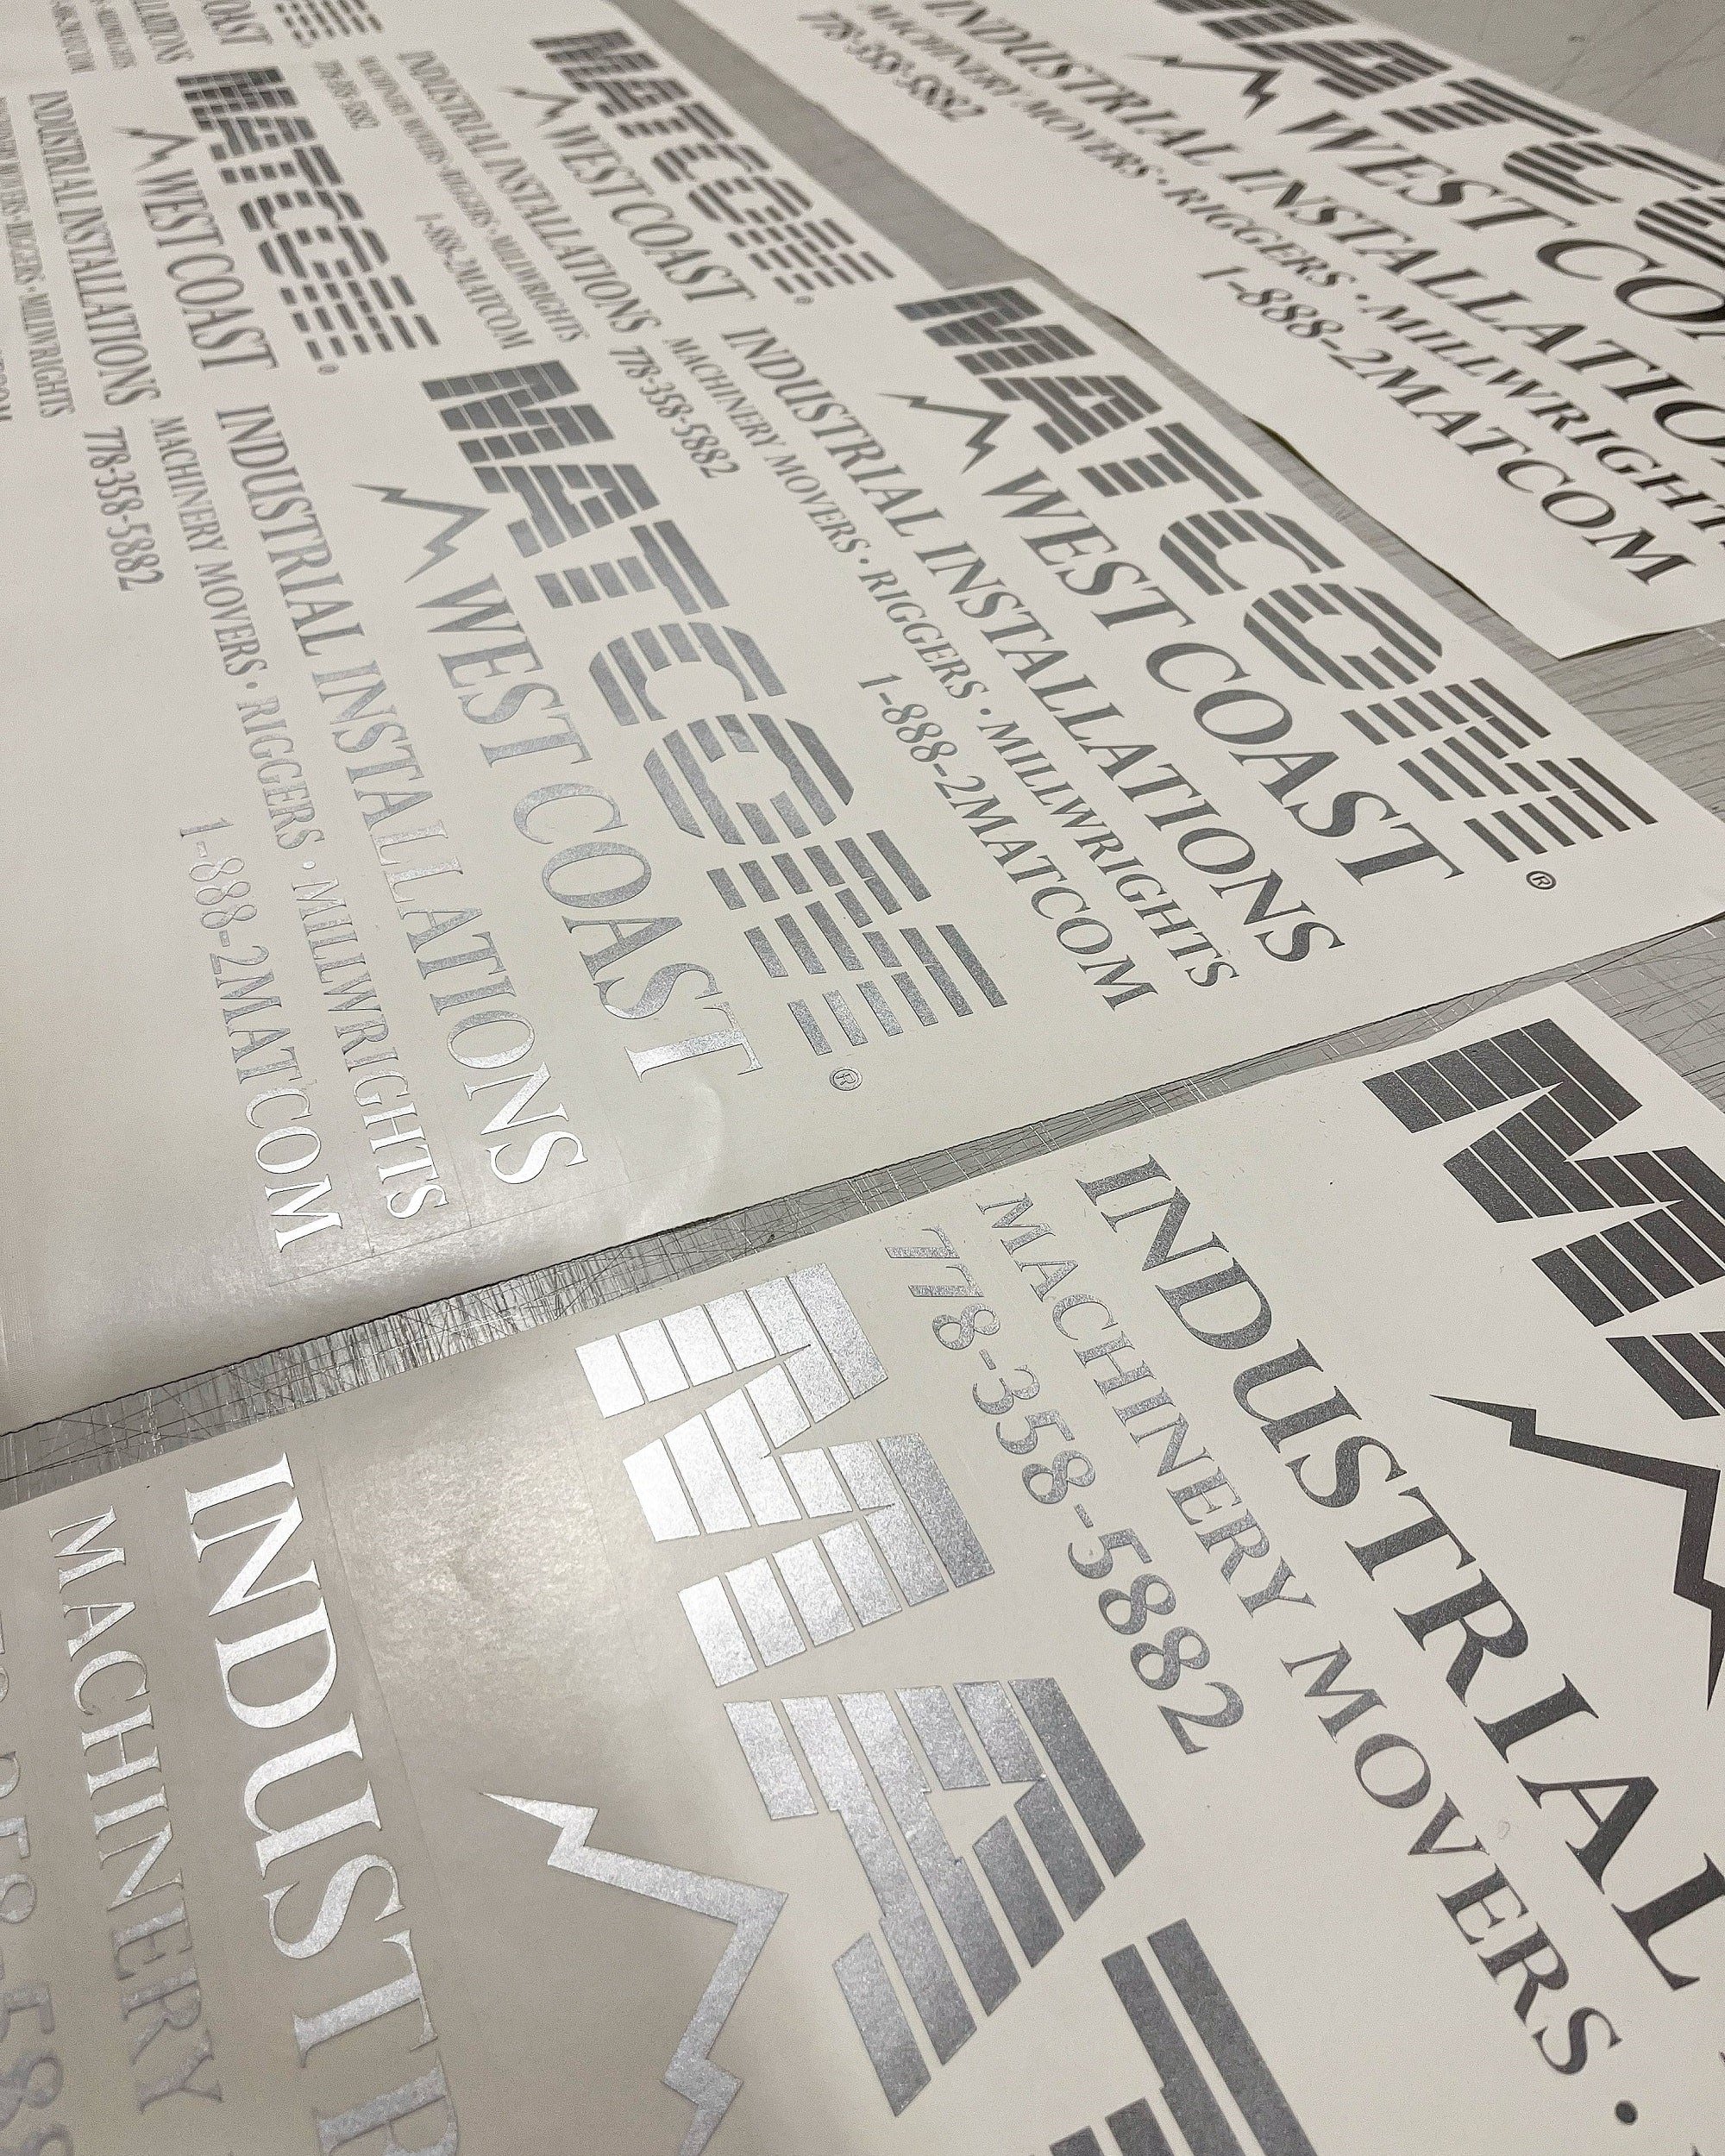
Vinyl Decal Sign film comes straight from the manufacturer in a variety of monotone colours and popular for Vinyl Lettering and Vinyl Signs. Sign vinyl as some call it, is plotted to “cut out” the desired graphic design for your sign and lettering. The excess or negative vinyl film is removed by weeding the excess vinyl and releasing it from the liner. Once the excess vinyl film is weeded and removed from the liner, the vinyl needs to be masked with a transfer material. The transfer tape, also known as “mask”, helps hold the vinyl design together for installation. During installation of your vinyl sign, the mask and vinyl film are applied together. The mask has a lower tack than the vinyl. Once the graphic is secure, the mask can be removed leaving behind your vinyl graphic sign.
Dye Cut Vinyl Film is commonly used for sign lettering and changing the colour of substrates. Sign lettering is used for boat decals, aisle markers and displaying business information signs such as store hour. Dye Cut Vinyl is uniform in colour and the colour remains relatively consistent between batches. Many sign and print companies use Dye Cut Vinyl to help maintain brand consistency by incorporating company colours and decals.
Vinyl Decal Sign Applications
Exterior Window Lettering Decals
Car Colour Striping & Exterior Accenting
Architectural Vinyl Film Cover for Exterior Windows
Single Colour Flooding of Sign Substrates
Boat Registration Numbering Decals
Commercial Vehicle NCS and GVW Numbers and Letter Decals
Company Vehicle Vinyl Logo Graphic
Vinyl Store Hours
Benefits of Vinyl Decal
Vinyl Materials Comes in full colour
Colour is consistent between batches
Colour remains throughout, making scratches and scuffs less visible
Wide Format Printing and lamination are not required
Fade resistant and weatherable
Easy to cut and work with
Vinyl Decal Disadvantages
Supports only vector based designs
Limited colour selection as it’s premanufactured
Difficult to use for complex designs
Requires layering for multiple colours
Weeding can be labour intensive
Requires transfer paper for application
How are Cut Decals Made?
Vinyl cut decals are plotted on a vinyl cutter. A precision knife cuts the top layer of vinyl to create letters and logo. Once the vinyl has been plotted a sign technician removes the negative cut vinyl through a process called weeding. Once the vinyl has been weeding and only the desired graphics are left a mask layer is applied. The mask layer helps the cut vinyl decals maintain the proper spacing when it is applied.

Calendar Vinyl and Cast Vinyl for Cut Decals
There are two types of vinyl used for cut vinyl decals and vinyl lettering, Calendar Vinyl and Cast Vinyl. Both material types work well as vinyl decals and vinyl lettering.
Calendar Vinyl Film
Calendar Vinyl film is a more cost effective sign vinyl solution compared to Cast Vinyl film. The reason for Calendar Vinyl’s lower price point comes down to its simplified manufacturing process. Calendar Vinyl is made with less additives and is formed by passing melted vinyl through a series of calendaring roller machines that compress the vinyl into smooth thin sheets. These thin sheets of vinyl can later be cut, weeded and produce in to vinyl signs and graphic prints.
Calendar Vinyl’s production process creates a vinyl product that when turned into signage is less conforming and durable than cast vinyl film. Over time, installed Calendar Vinyl will begin to shrink, creating tension on sign installations and can pull back vinyl wrapped applications. As a result you may see corners or the edge of your vinyl wrap start to lift. Calendar Vinyl works best on flat surfaces or areas with slight curves to display vinyl wall graphics and other digital wide format print graphic designs. Calendar Vinyl typically lasts up to 5 years and is recommended for temporary and non-complex vinyl graphic displays.
Cast Vinyl Film
Cast Vinyl film is more expensive than Calendar Vinyl film. When produced in to signage it is longer lasting, higher quality and the vinyl graphics once installed are more conforming. Cast Vinyl can also be coated in polymeric plasticizer to further increase durability and flexibility. Cast Vinyl’s flexibility allows for vinyl graphic wraps to be stretched and conform to surfaces with more complex contours. When exposed to heat, Cast Vinyl also doesn’t shrink as much as Calendar Vinyl. Overall, Cast Vinyl is more expensive because it requires more materials and energy to produce. The end result is a superior Vinyl Film that creates better sign graphic products.
Opaque and Translucent Cut Vinyl
To understand the difference between Opaque and Translucent Vinyl, it’s important to understand the main functions of vinyl films when it comes to sign making. Translucent Vinyl is intended to be used in backlighting sign applications, whereas Opaque Vinyl is used to block light from passing through graphic sign displays.
You will commonly see Translucent vinyl used for fascia light box acrylic inserts, pylon sign faces and to apply colour to the acrylic face of LED illuminated channel letters. Translucent vinyl is applied directly to the sign face, the idea is light immitted by the LEDs passes through the acrylic and defuses the light through the vinyl to prevent hot spots on the finished sign.
Opaque Vinyl film is commonly used for rigid sign applications and wrapping larger surfaces, such as a vehicle wrap and wall graphic wraps.
Steps Installing Cut Vinyl Decals
Vinyl Material Review
Before installing and mounting vinyl, it’s important to review the vinyl’s factory spec sheet. Since different types of vinyl provide their own unique variables, it’s always a good idea to better understand what kind of material you're working with. Reviewing the vinyl’s factory spec sheet will improve the chances of a clean, easy and successful installation.
Vinyl Preparation
Half the battle of vinyl installation is in the prep work. Make sure you pre-align your pieces and understand which parts of the installation are to be installed first. It’s also important to make sure the mating surface of the vinyl is clean and free of debris. Your area of installation should also be dust free to ensure no unwanted debris interferes with installation.
Vinyl Measuring and Dry Fitting
Before you start peeling back the vinyl liner, it’s always recommended to check your measurements and dry fit your installation beforehand. Pre-marking alignment guides and laying out your vinyl panels will help make sure you have everything in place.
How to Hinge Vinyl Graphics
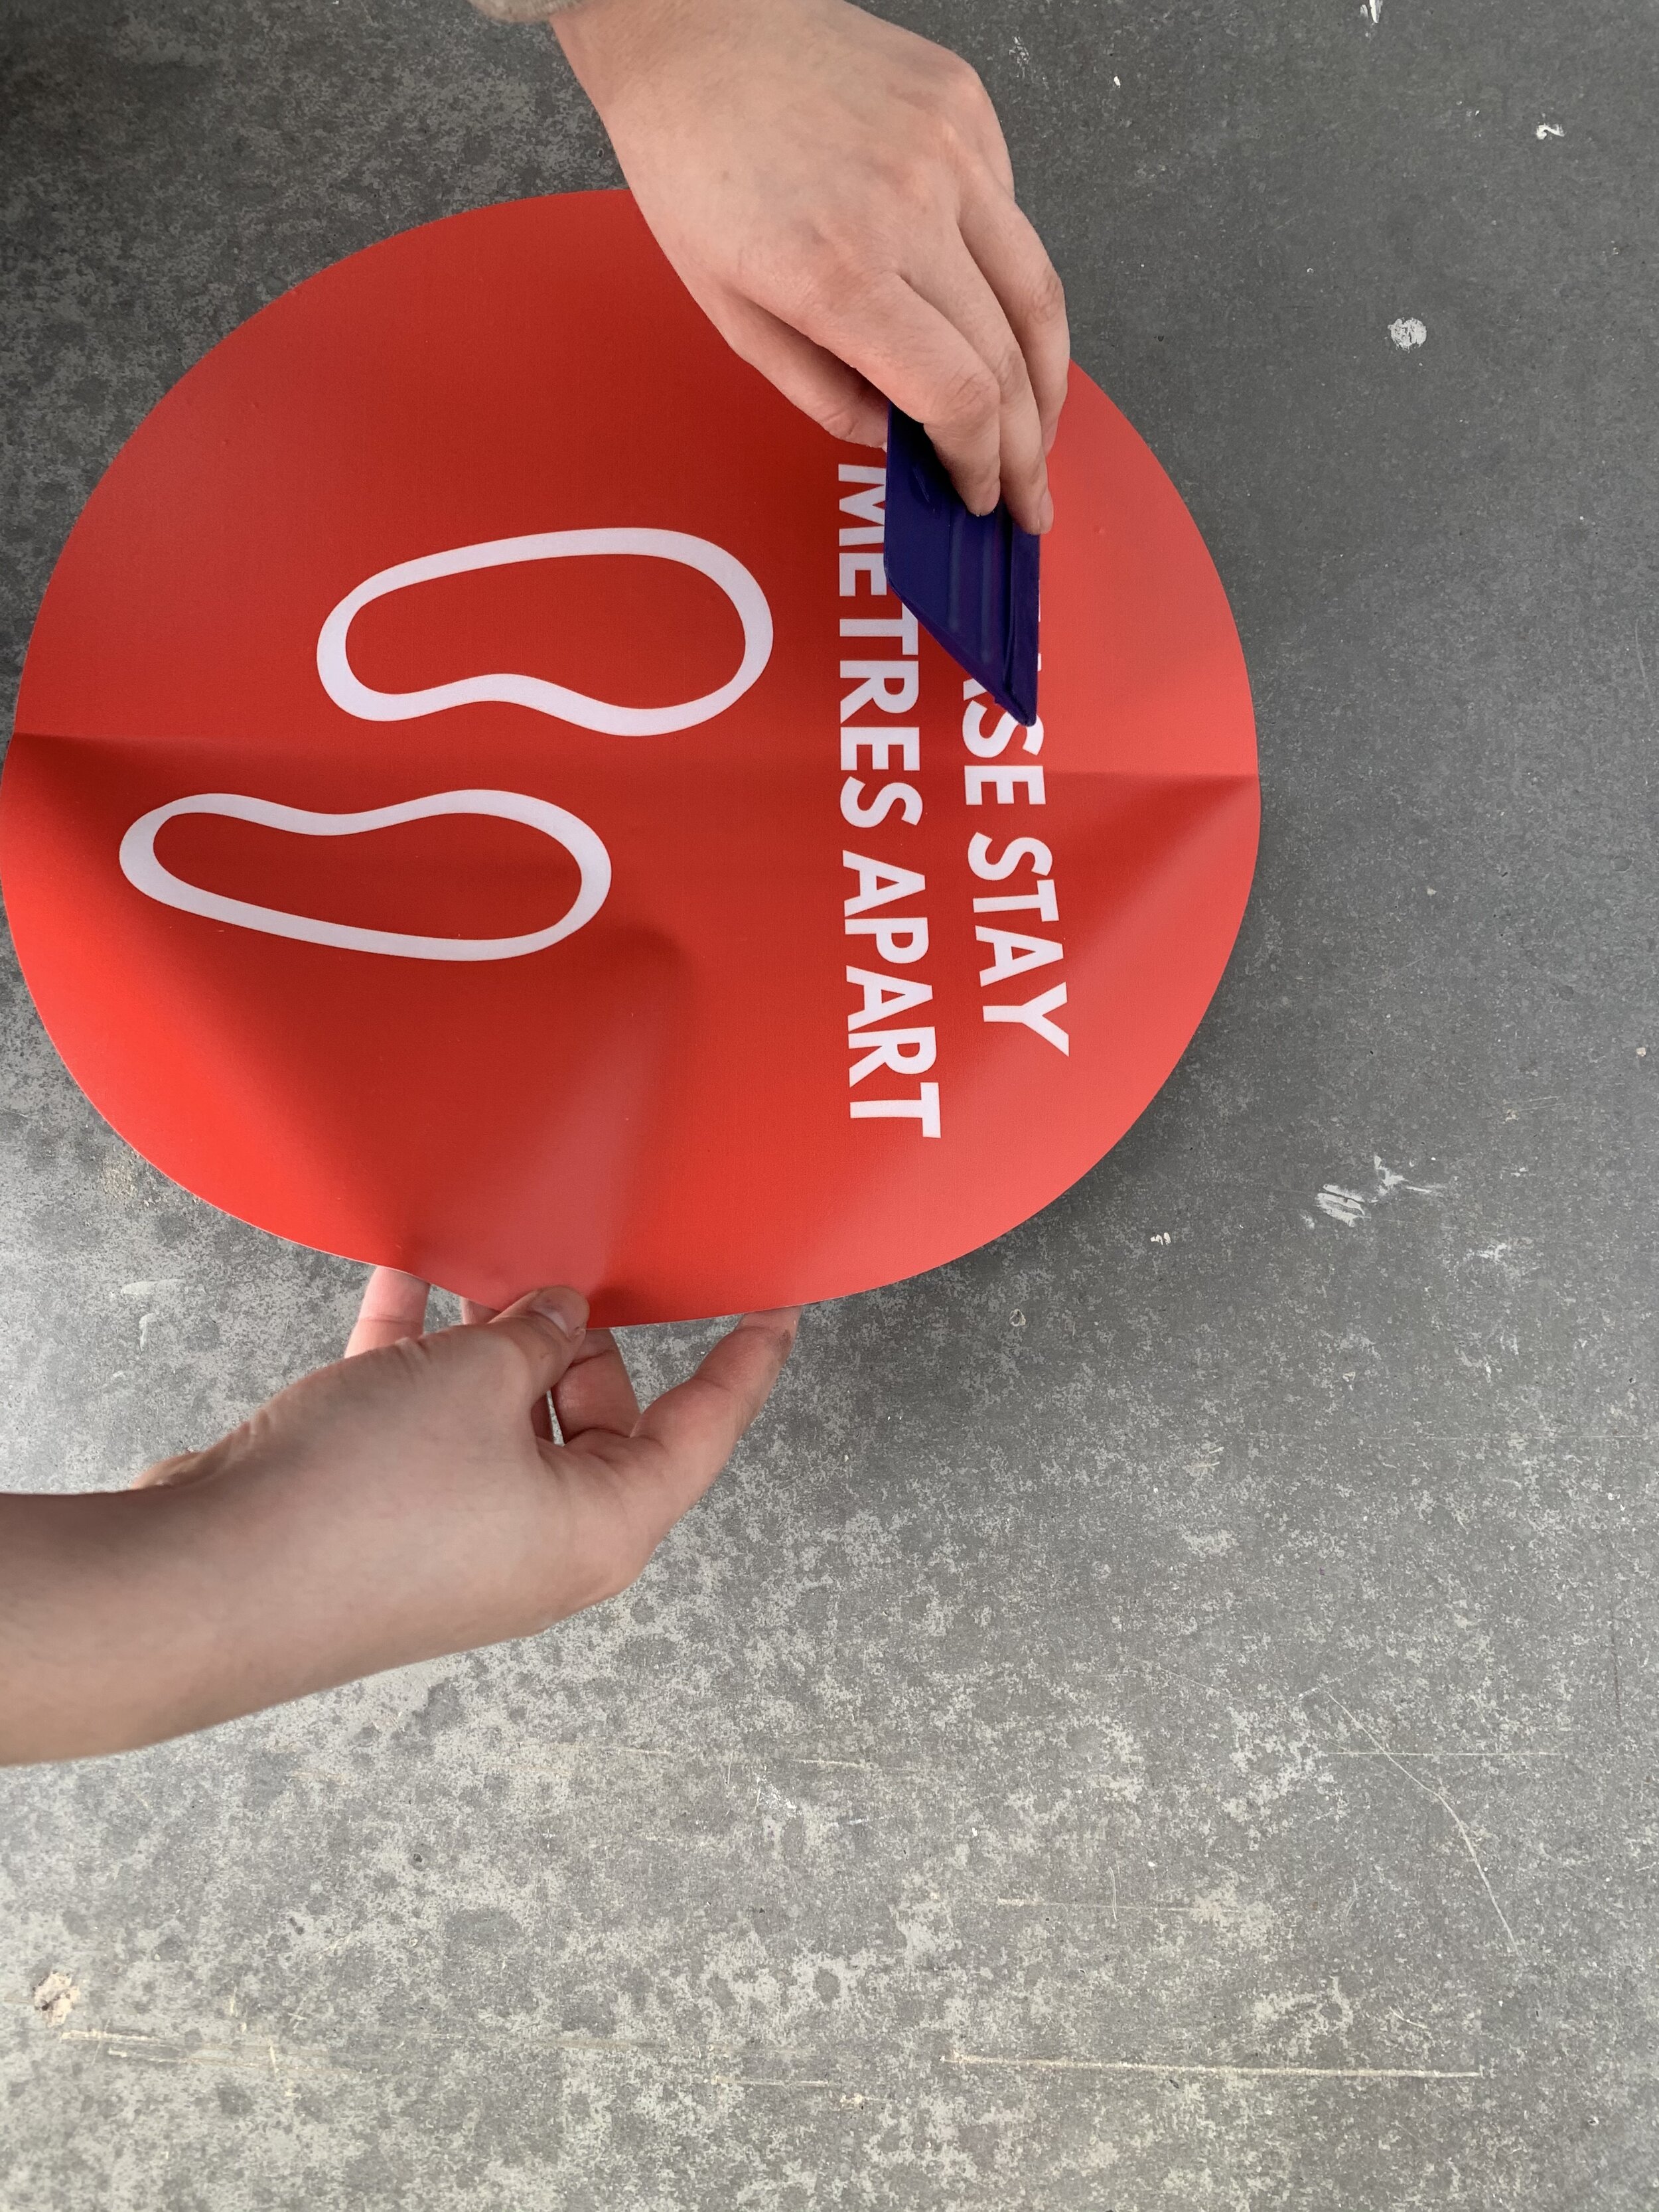
Tape your vinyl graphic in place with painters tape or low tack masking tape. Once the vinyl is aligned, fold one area back and release the liner using your masking points as a hinge. For easier application, try separating your vinyl graphic into sections, that way you aren’t applying the whole graphic down at once. Once you have seperated the release liner, you can cut it and fold back the excess, or discard it.
Wet Application
Wet application helps reduce surface tension and air pockets, and allows for easy vinyl repositioning. To apply vinyl wet, spray down the adhesive side of the vinyl and the mounting surface with application fluid. Once you have the vinyl graphics aligned and in place, apply pressure with a squeegee and work your way from the inside out, pushing the application liquid out in even and overlapping motions. As you continue to release the applicator fluid, the vinyl will start to adhere to the surface. Repeat until the whole piece of vinyl is in place and let it sit to dry.
Dry Application
If your vinyl has air release or air egress, application fluid is not necessary. With practice, vinyl that doesn't have air release or air egress can be installed without leaving air pockets behind. Applying your vinyl one section at a time is key for a clean installation when using dry application. It's also helpful to have an extra pair of hands to help you hold the vinyl in place above the mounting surface. Have the second person hold the vinyl just above where it will be pressed down as you squeegee from the centre out. Make sure to apply firm and even pressure, and work in one direction so the air pockets are pushed towards the outside of your work surface.
Working Out Vinyl Air Bubbles & Cutting Excess Vinyl
Once you have successfully mounted your vinyl, it’s time for the finishing touches! If you wet apply the vinyl, you should be able to go over your squeegee passes again to push out any remaining liquid. With air release and air egress vinyls, simply push on the bubbles and the air should disperse. If your vinyl was not wet applied and doesn’t have air release or air egress, you will need to make a small hole in the vinyl and add pressure to work the air out through your puncture point. Once all air bubbles have been worked out, excess vinyl material can be cut to size to seamlessly fit your application space.
Production and Shipping of Cut Vinyl Decals
Once your custom vinyl graphics and vinyl decals are printed, prepped and ready to go they can be picked up curb side at our Greater Vancouver Sign shop in Surrey BC. If you prefer that your Vinyl Graphics & Cut Decals signs are shipped to your business, they would ship from the same location in Vancouver. Sixstream Signs offers shipping Canada wide.
How to Store Cut Vinyl Decals
Vinyl should be stored face out when rolled. This helps the vinyl from folding in itself and the liner from coming apart during transport. If possible, use a 3” core and avoid folding vinyl to save yourself the hassle of trying to smooth out fold lines and creases later. Vinyl should not be left in direct sunlight and should be stored in a climate controlled area that doesn’t have drastic fluctuations in temperature. For vinyls which have a water based adhesive, it’s recommended to store them indoors or in a moderate climate environment, as freezing temperatures can lead to adhesive failure.
Maintenance of Cut Vinyl Decals
Once applied, sign vinyl is relatively low maintenance. For long term applications, it's recommended that your vinyl graphic prints are laminated for ease of cleaning. A mild detergent like soap and water will help keep your vinyl graphic free of contaminants and dust. Do not use aggressive chemicals or alcohol to clean vinyl as it will dry out the material over time. When cleaning vinyl, it’s important to be gentle and mindful around the edges to ensure the vinyl is not lifted and to keep the adhesive intact.